Sitting in your pocket or your purse is one of the most powerful pieces of technology to date. That’s right your smartphone. These beasts can take and edit photos as we’ve never seen before, and that’s why smartphones are increasingly replacing heavy cameras when people travel. But to use them to take amazing photos, you’ll need to know the ins and outs of the smartphone as well as photography basics to take your smartphone travel photography to the next level.
NOTE: Travel is not recommended at this time. These posts are here to serve as inspiration when we can explore again. Hey there – this post likely contains affiliate links, which means I earn a commission (at no extra cost to you) if you purchase from them. This helps me earn a few dollars to run this website.
Why smartphones are great for taking photos when you travel
Weighing only a couple of pounds and packing an insane amount of technology, smartphones are the ever-popular choice to bring along on your travels. Even if you do take along a larger camera, it’s most likely that you also have your phone with you.
Phones today have the camera power to rival entry-level DSLRs and mirrorless cameras, making the process of taking photos on the go easier and easier.
I own a professional DSLR and four lenses that are used for different purposes. I love taking my camera when I travel, but I hate to admit that lugging it around while sightseeing, changing my lenses out in the open and always worrying about breaking it are drawbacks.
It took me a long time to be convinced that my cell phone can take photos that rival my DSLR. When I purchased my Google Pixel 2, I was blown away. I took it on a trip to Italy in the fall and like daaaayyyyuuuummm.

Pros of using your mobile for travel photography
- Incredible camera capabilities: Phones these days are astoundingly powerful. The top phones are more powerful than my very first digital point-and-shoot camera I got nearly 15 years ago. It means that you can take amazing photos just with a tap of the screen.
- Small: Your devices can fit smoothly into your pocket or purse, or you can hold it in your hand it, and you won’t get tired of carrying it around.
- Portable: Want to take it underwater, up in the air or literally where ever? You sure can. With underwater cases, arm straps, and other accessories, you can take your phone with you pretty much everywhere, making it the easiest camera to take travel photos with.
- Discrete: Street photography can be difficult with big cameras, but with a phone that people are so accustomed to seeing, it can be easier to snap those candid shots
- Take, edit and post photos in an instant: You can literally take, edit and post a photo on your phone in a few short minutes, eliminating hours of transferring, editing, resizing and more with a traditional camera

Cons of using your mobile for travel photography
- Battery power: constantly running the camera app and editing apps can kill your battery pretty quickly. There are ways around it, but battery power is a weakness compared to DSLR cameras.
- Memory: Hands up if you’ve ever had “memory full” alerts while taking photos with your phone! Yup, me too, again there are ways around that. But it’s not as easy as changing an SD card in a DSLR.
- Quality: While some of the newest phones take astounding photos, I don’t think they will ever compete with a DSLR.
But just having this incredible piece of technology in your pocket won’t be enough. You still need to understand the basics of photography and how to take your photos from being good to great!
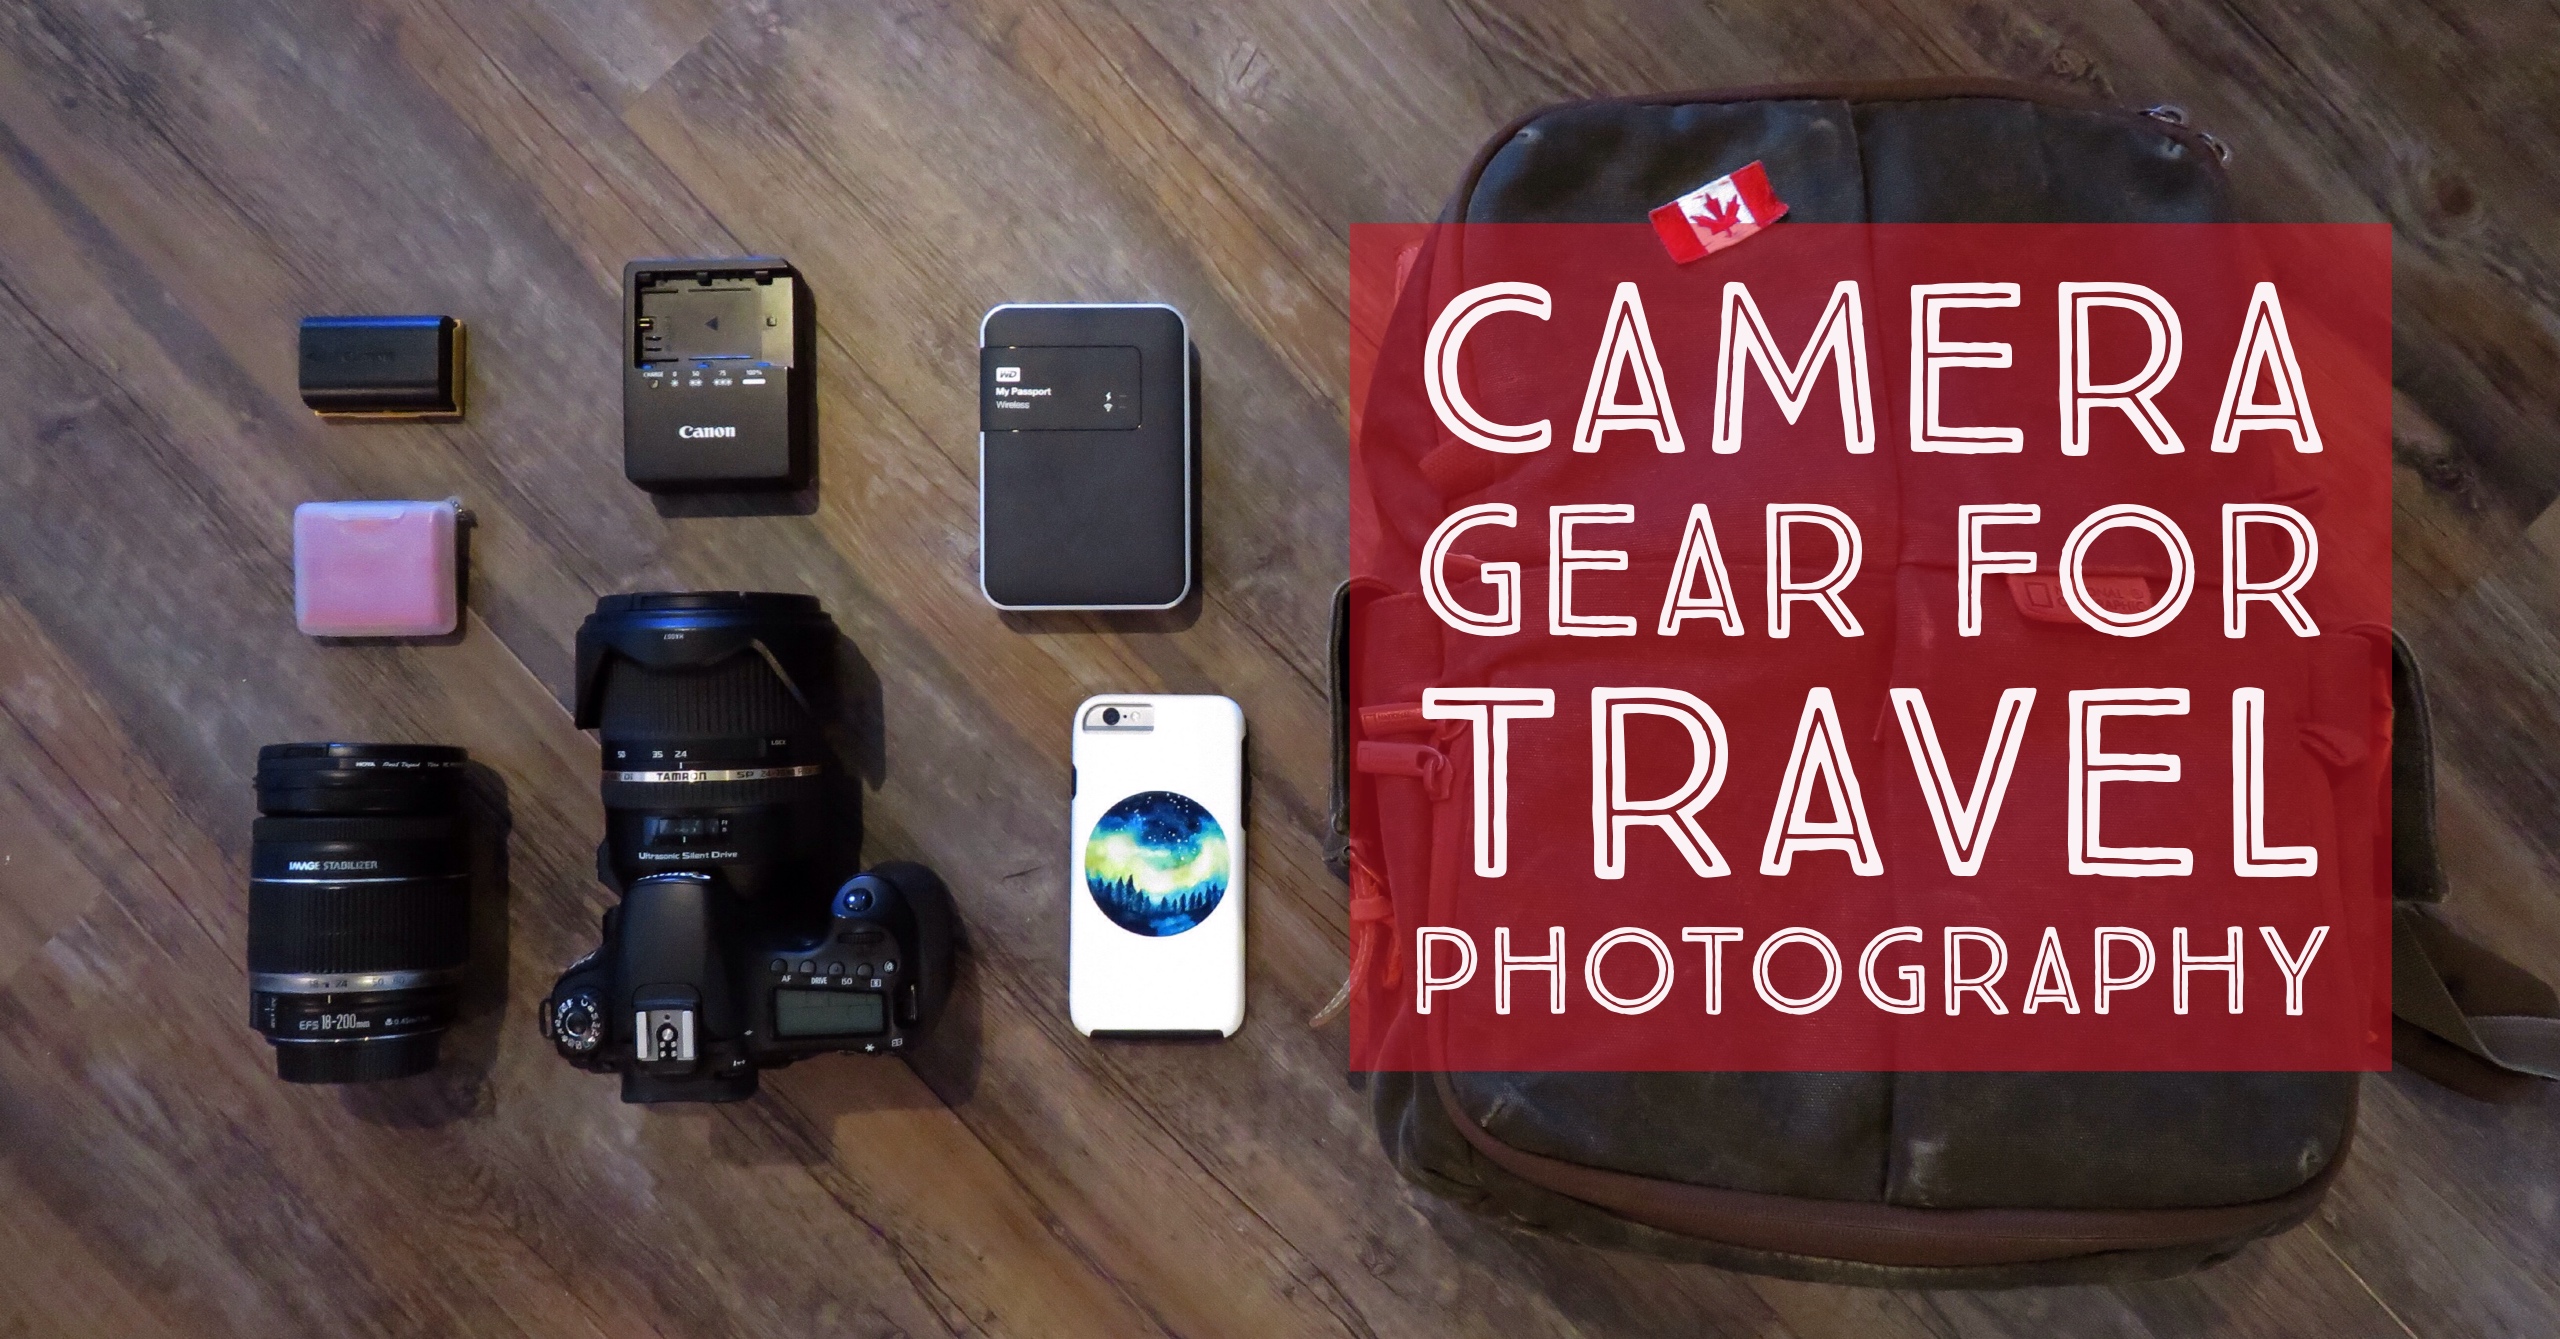
RELATED: What’s in my camera bag? Camera gear for travel photography
What are the best phones for travel photography
iPhone 12 pro: for those that will never leave Apple, the iPhone 12 is a great smartphone for travel photography. It has three rear cameras, 12 megapixel Ultra-wide, wide, and telephoto lenses at f/1.6, f/2.4 and f/2.0 respectively. The front camera is 12-megapixel True Depth camera with an aperture of f/2.2, and the iPhone popularized the Portrait Mode, which captures wonderful photos of people.

Google Pixel 5: I love my Pixel (I have the Pixel 5), the camera is mind-blowing, and I don’t think I’ll ever switch back. On the Pixel 5, you’ve got a rear camera at 12.2 megapixels with an f/1.7 aperture, plus an ultra-wide camera. The front-facing camera has an 8-megapixel lens, with an f/2.0 aperture. It also has a feature called Night Sight, which is great for taking photos at night. AND you can get unlimited Google Photos storage, so you never have to worry about running out of room.
Samsung Galaxy Note 9: This Android phone has two rear cameras with 12 megapixels and apertures of f/1.5 and f/2.4. Together they work to bring you focused and well-lit photos. The front camera is 8 megapixels with an f/1.7, perfect for selfies. This phone also has a micro SD slot so you can expand your storage tremendously.
How to shoot in RAW on your smartphone
Did you know that you can shoot in RAW on your smartphone? Well, if you have a phone that has those capabilities.
First off a RAW photo is the highest quality image that you can take, packed with data. You used to only be able to take those types of images on DSLRs, but recent mobile phones are now able to do that!
Why should you shoot you smartphone travel photos in RAW?
Well, if you are taking images to share online or on social media, then you don’t need to capture all that extra information that is stored in a RAW image. However, if you want the editing freedom, without sacrificing quality, then RAW is the way to go. Just know that RAW files are significantly larger and will take up much more room on your phone.
If you have an Android phone, then you’re camera needs to have the Camera2 API, which is equipped in most Android phones built after 2016. However, just because your camera can shoot in RAW, you still have to go in and turn it on in the settings of your camera app. If you cannot find the “RAW+JPEG control” in your settings, then you’ll have to use a third-party camera app (examples are listed below).
Most iPhone 6 and later models have the capability to shoot in RAW. However, it cannot be done from inside the native camera app. You have to use a third-party camera app (examples below).
What are the Best smartphone travel photography accessories
The best part of smartphone travel photography is that you don’t need a lot of accessories. But here are some I suggest to take your mobile travel photography to the next level!
Lenses
Increasingly, camera lens add-ons are becoming popular with smartphone travel photographers, since they offer versatility and variety for the user. So, where can you start?
Best budget option: The Aukey Ora 2-in-1 lens is great for those looking for a bargain. It still produced a great photo, but it’s bulkier and not as high-quality. Still, it’s a decent price and a great starting point.
Best mid-range: The Pixter clip-on lenses are the best in the mid-range category. The lenses are universal and clip right onto your phone to take the photo! Get started with their Starter Pack, but they also have a travel pack and accessories like a tripod and remote shutter.
Best high end: Moment lenses are some of the best on the market. But you will also have to fork over more for these outstanding lenses. You also need to get a case for your phone to get them to fit properly over the camera. Their best ones for travel are the 58mm lens and their 18mm wide angle.
Underwater phone case
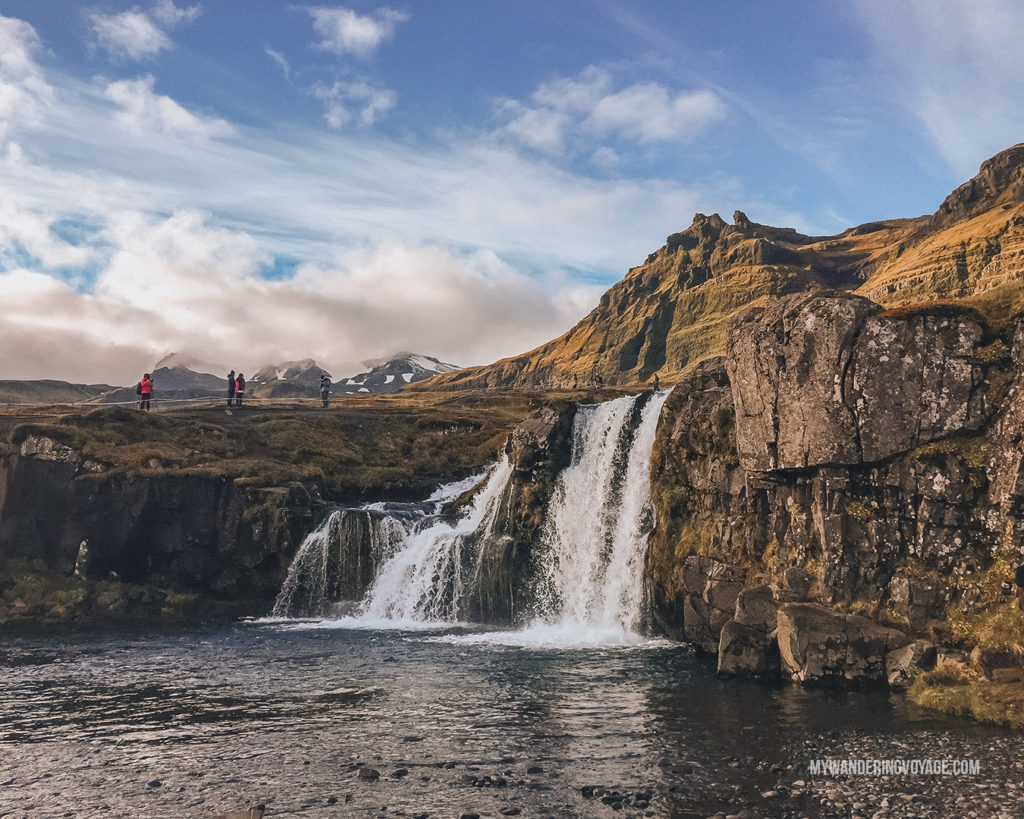
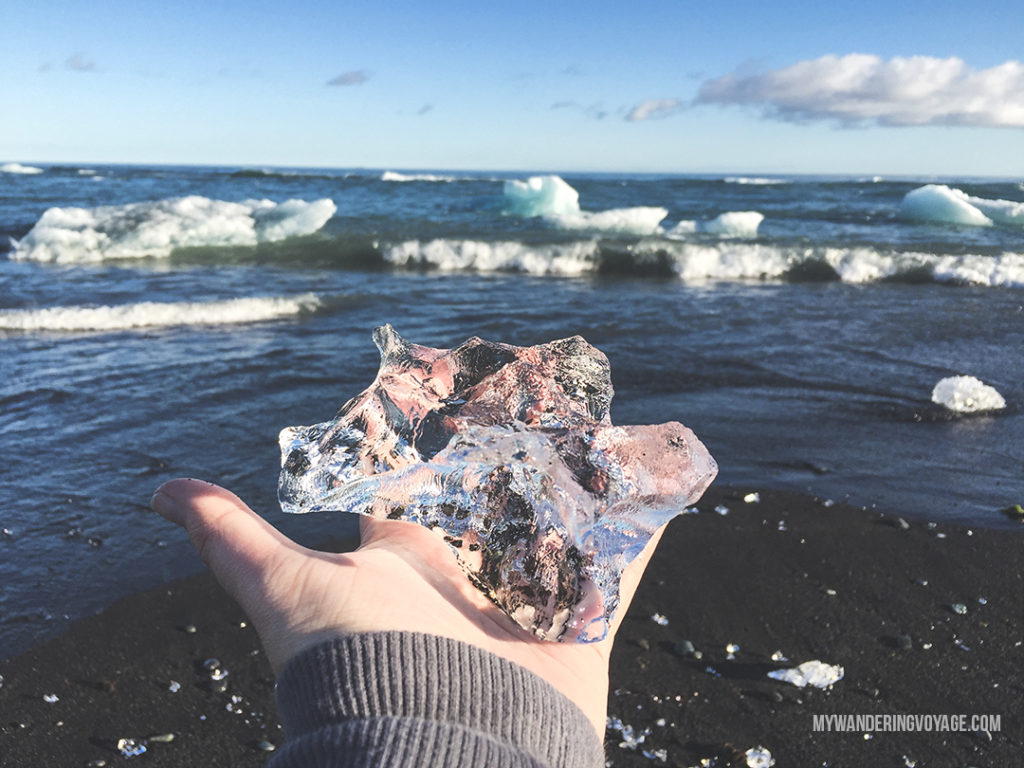
If you want to go snorkelling, swimming, boating, or be near the water in any way, then you’ll want to get an underwater camera case for your phone. For iPhones, the Catalyst case or Hitcase Splash might be the best options. I used a Lifeproof FRE case when I went to the Blue Lagoon and behind waterfalls in Iceland and it was perfect! You could also try Pelican Marine Case (the gold standard of underwater cases!)
Tripod
Sometimes you need a steady hand and other times you want to take an awesome selfie. Tripods are a great way to do that.
A flexible one like this can let you wrap the legs around anything to get a solid grip. You can pretty much set it up anywhere. This one is also flexible, but it uses magnets as a grip, which is totally cool!
This one is so tiny and lightweight you won’t even know you have it on you. Orthis one is the size of a credit card!
And lastly, for the selfie queens, this tripod is also a selfie stick, and it comes with a remote shutter!
Understanding Smartphone Travel photography basics
Have you ever pulled up a photo of a popular tourist destination and just been floored with how beautiful it is? You may not be able to put your finger on it, but you can tell it looks a hell of a lot better than the photo you took at that same location?
So, what gives?
When you’re taking photos for friends, family, or even your social feed, how much time do you think you devote to getting the perfect shot? Probably not a whole lot of time. But if you want to become a better photographer, then you need to start thinking harder before you press the shutter button. Once you start thinking critically about your photos, then it starts to become second nature.
Let’s talk about some photography basics that will help you take better photos.
Rule of Thirds
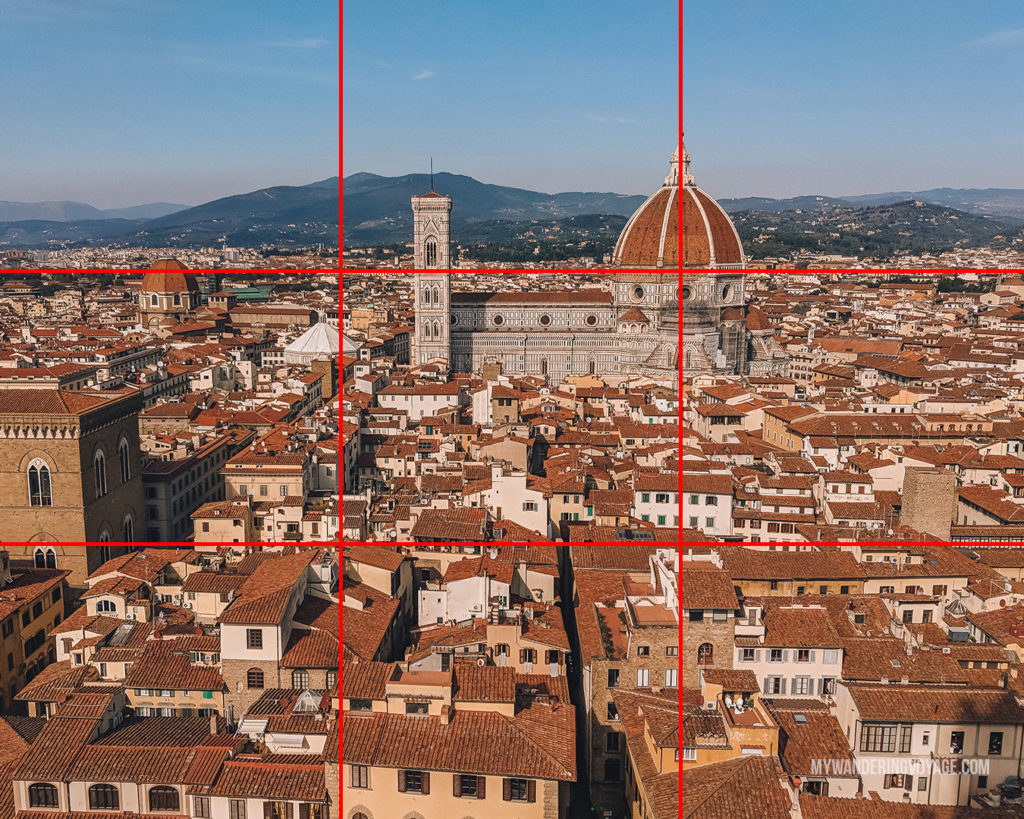
The basic premise of the Rule of Thirds is you divide your frame into thirds both horizontally and vertically, so you end up with something like this. Now you plot your key objects, on the intersections of those points. By doing this, your composition will instantly be better.
But there are exceptions. Dramatic photos with negative space, don’t follow the rule, nor to symmetrical photos. But for the most part, the rule of thirds works like a charm.
Most phones have a built-in grid that you can use when taking the photos, so have a look at your settings to turn it on.
Light
Light is the key to photography; it can have a big impact on the look and feel of your images. With DLSRs you need to master three separate elements to control the lighting for your photo, but with your phone, it does a lot of the work for you. With a simple touch of the screen in the camera app, you’ll be able to toggle the brightness setting as well.
It’s said that a photograph is worth a 1,000 words, but light is the language photos are written in.
Take advantage of natural light as well as the golden hour – the hour after sunrise and before sunset – and the blue hour – the 30 minutes before sunrise and after sunset. I’ll talk more about advanced lighting techniques in a bit. For now, think about how light impacts your subject.
Focus
While some photos can pull off a blurry look, you’ll want to make sure your photos are sharp and your subject is in focus. To get sharp images on your phone, you simply tap the screen where your subject is to focus.
Also, make sure that your lens is clean and free from fingerprints. Some cases might inhibit the camera and give it a soft focus. If your case does this, then I suggest not using the case while taking your photos.
Some phones have a portrait mode that allows you to create a softer background, mimicking a shallow depth of field. I would only use this if you can take a photo with or without the added blur. The portrait modes are great at capturing people, but the blur can sometimes end up in the wrong area and your photo ends up looking weird.
Don’t zoom, move, then crop
The zoom function on your phone is digital zoom. Optical zoom is what you’ll find with a DSLR and lens. It uses glass inside the lens to bring your subject closer into view. But digital zoom is an in-camera image process and creates poor quality images.
So, if you want to frame your shot better, then you need to move closer to your subject.
Because of the quality of your images on smartphones these days means your photo will be decent enough to crop in editing, but it won’t be quite like having a DSLR, just one of the limitations.
RELATED: How to take better travel photographs
Take your Smartphone Travel Photography to the next level
Now that’s you’ve got the basics. Let’s talk about how we take your photos from being good to being great. Three factors make a great photo: composition, light and story. Let’s chat about each one in turn.
Composition
To get your photos from being good to great, there are several ways to make your photos stand out. First is composition. You need to be aware of what is in the frame and how it will be portrayed in the final image.
Each line, shape and action in the image will create a feeling or emotion in the viewer. So you want to take extra care before you snap.
We talked about the Rule of thirds, but here are other ways you can compose your images:
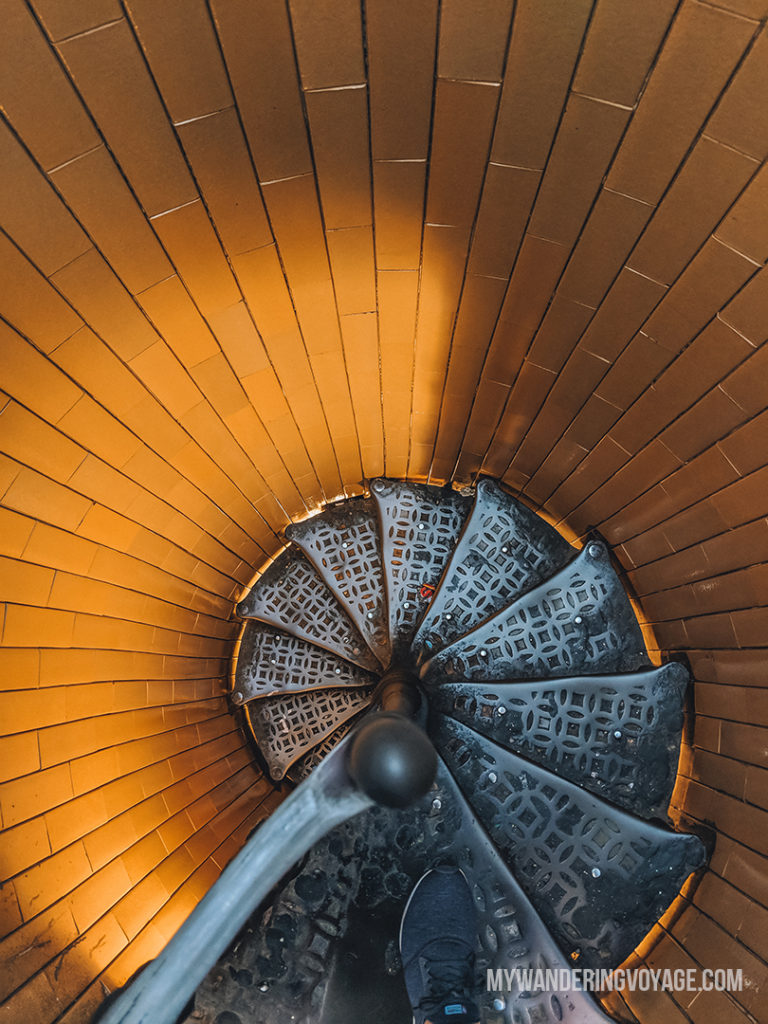
Lines: lines draw the eye in or out of your photos, so look for things that create a line, whether it is literal or implied. This can be a road or trees, or even shadows and light.
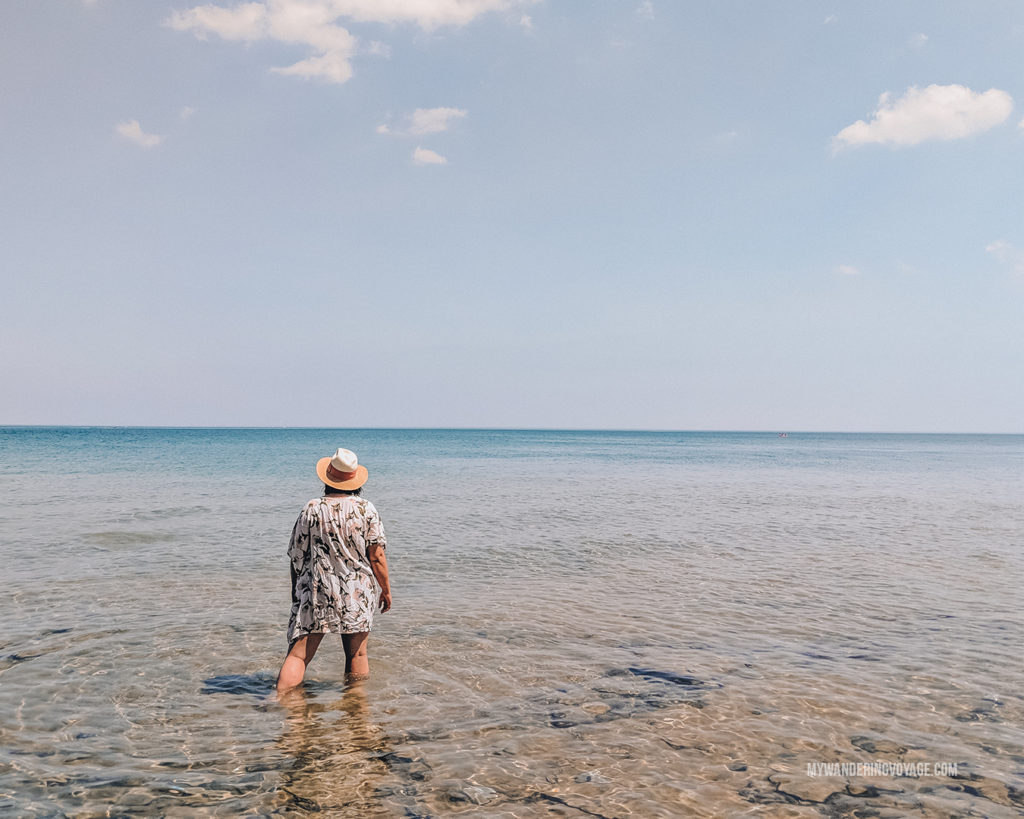
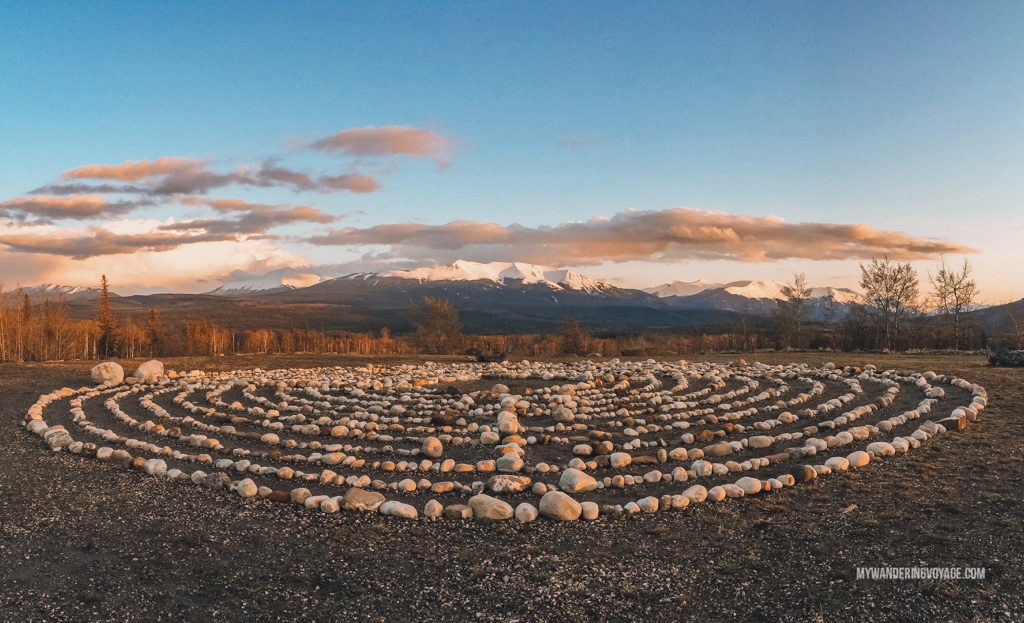
Space: negative space, aka the empty space around your subject, can make you subject have breathing room in a photo and make them pop when used well. You can even create really dramatic photos by using negative space to the extreme.
Negative space does not mean having to shoot in front of a blank wall. It just has to be a simple background that doesn’t distract the viewer from looking at your subject.
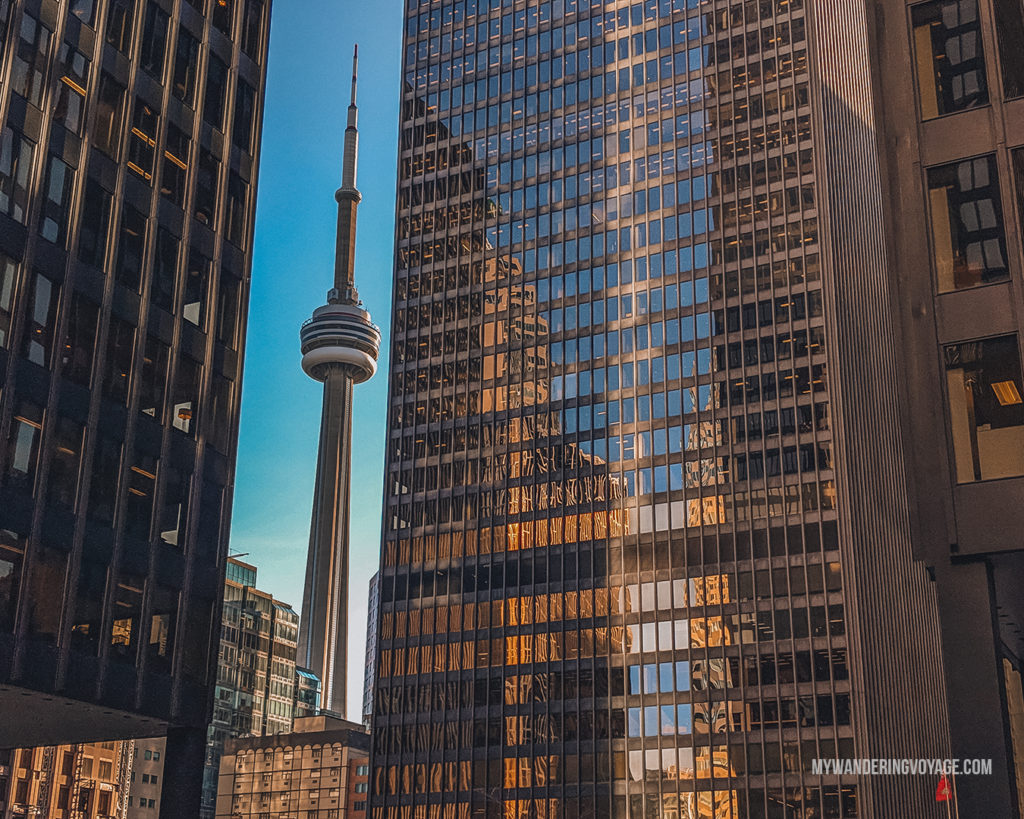
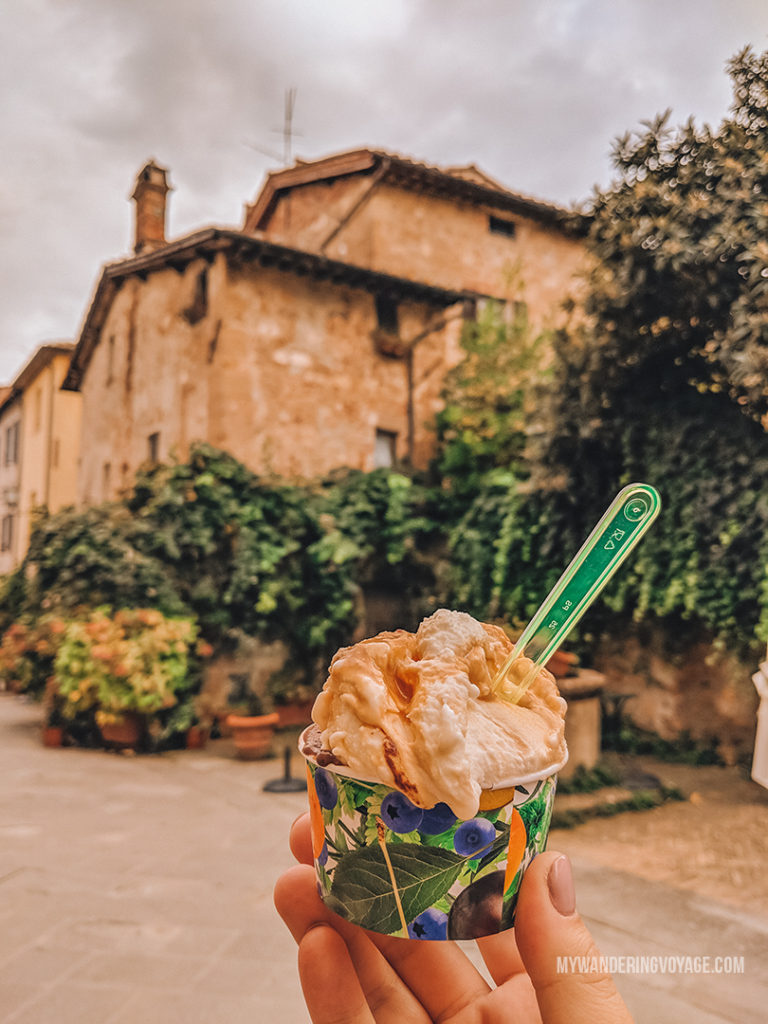
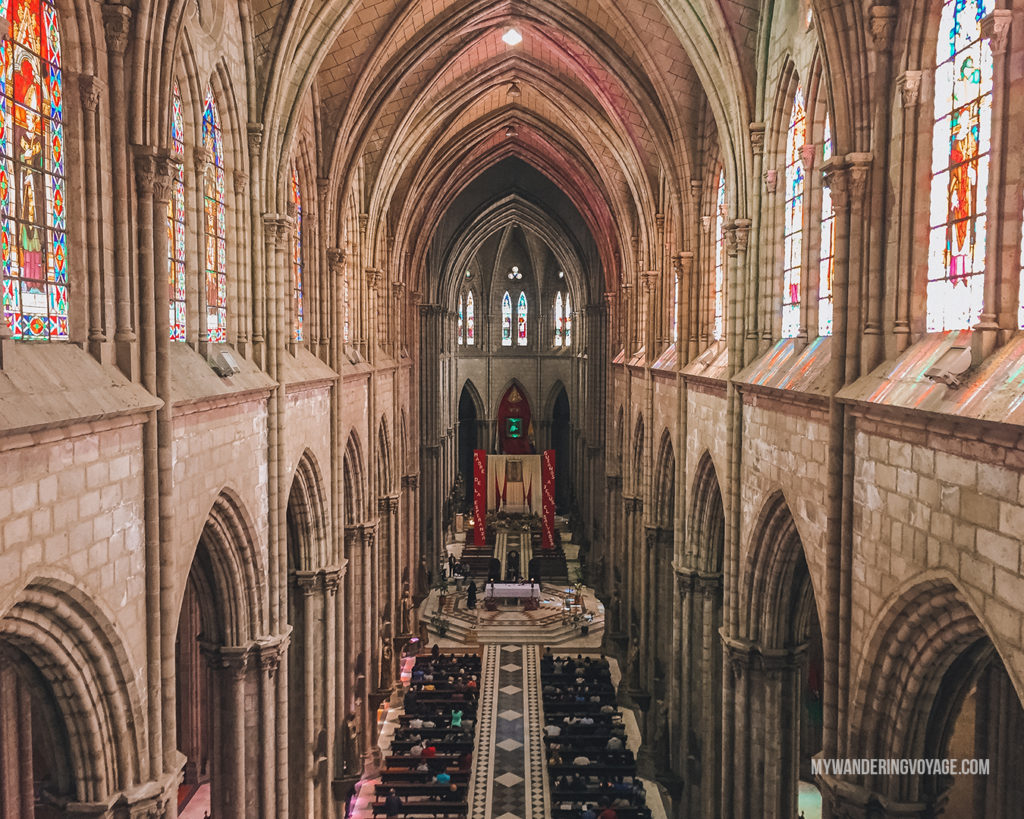
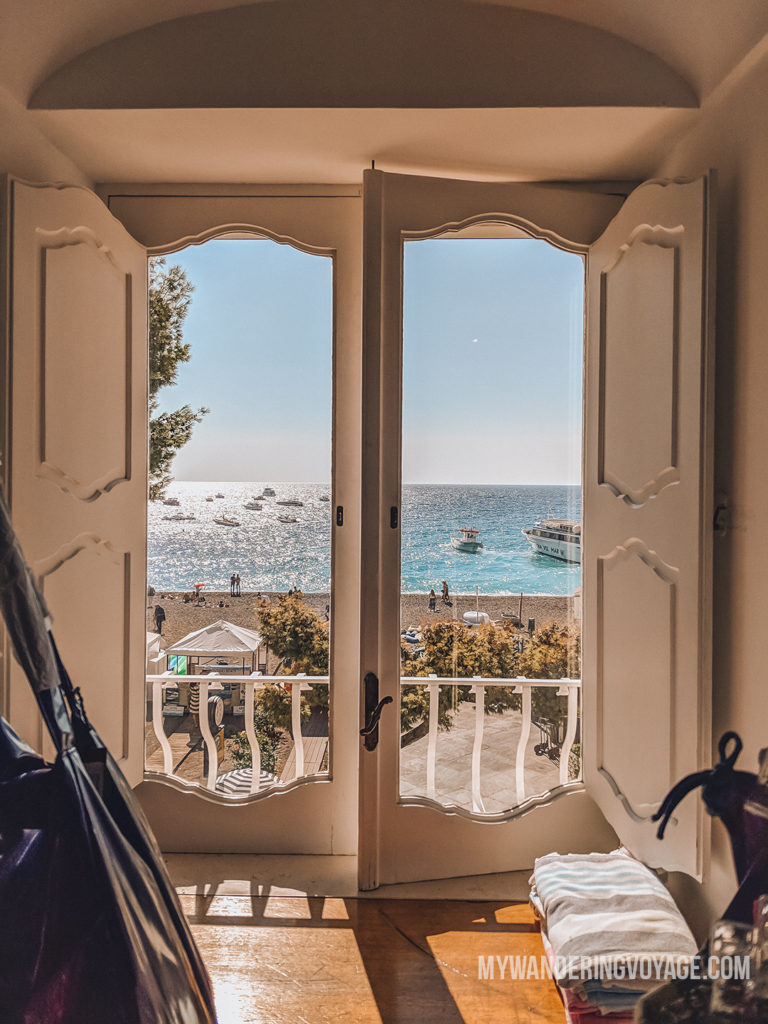
Frames: Frames helps put focus on your subject. Framing can be as simple as shooting the subject through a door frame or window frame, or you can use natural objects to highlight the subject, like trees and arches.

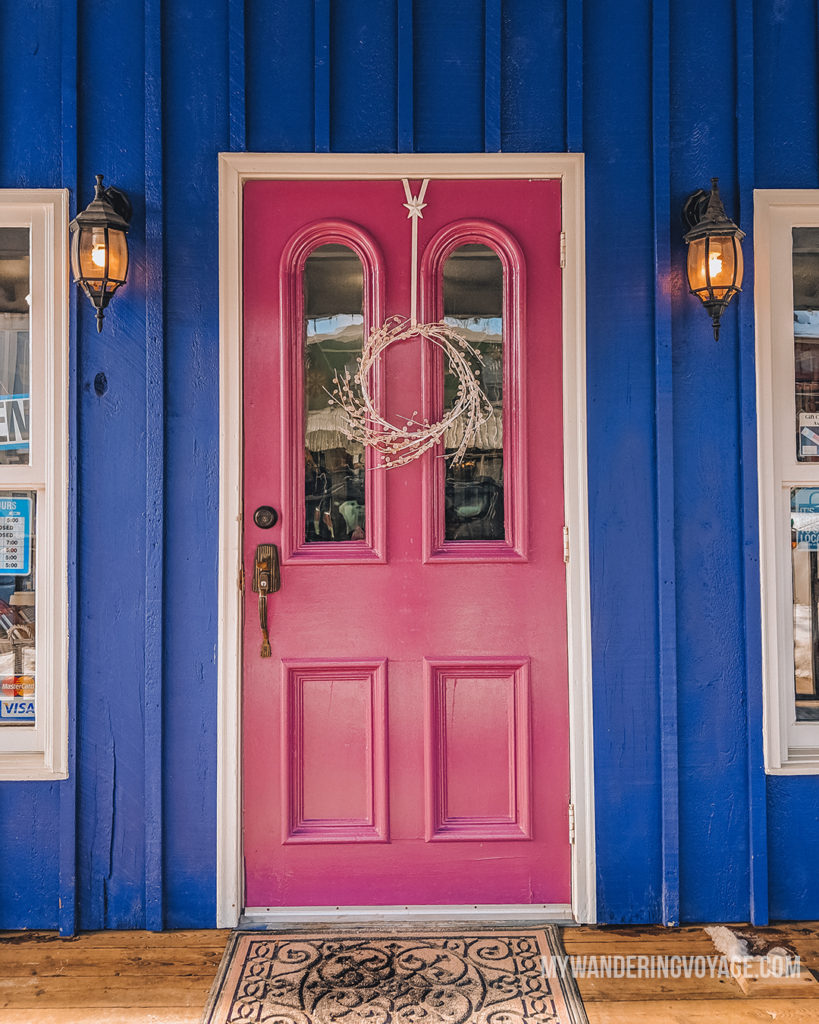
Colour: If your subject is bright and colourful, you can highlight that by using an opposite colour to fill the frame. Like yellow surrounded by blue, a red leaf on green grass, you name it.
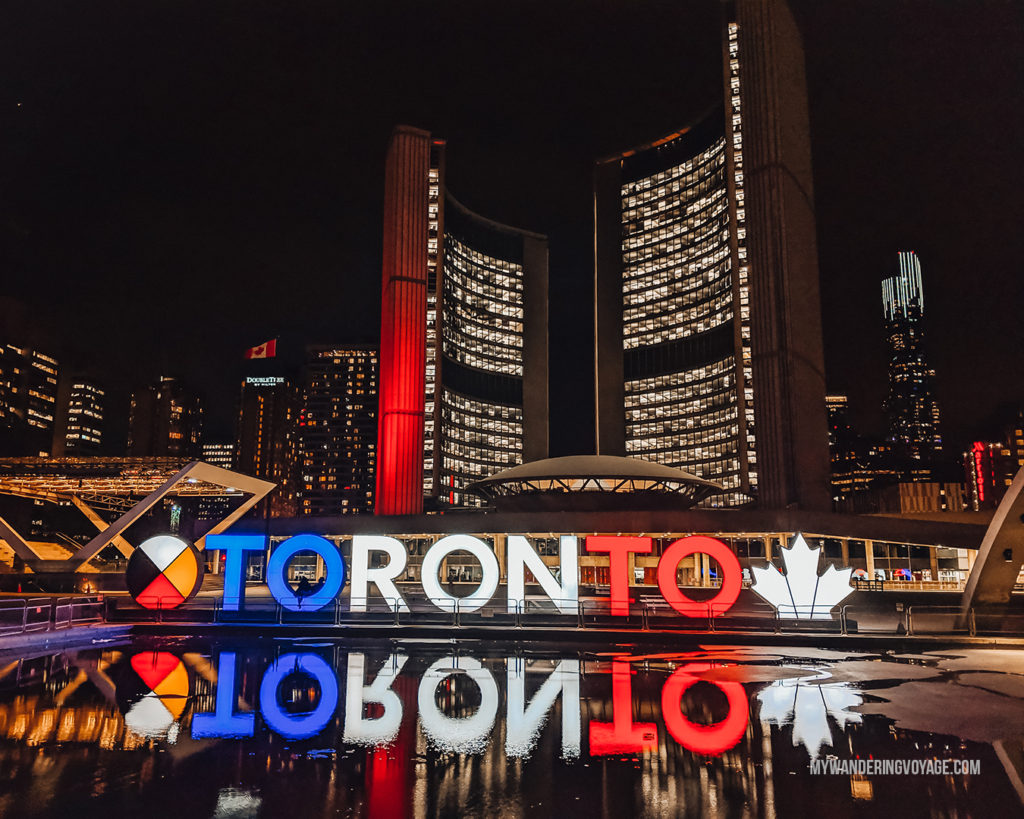
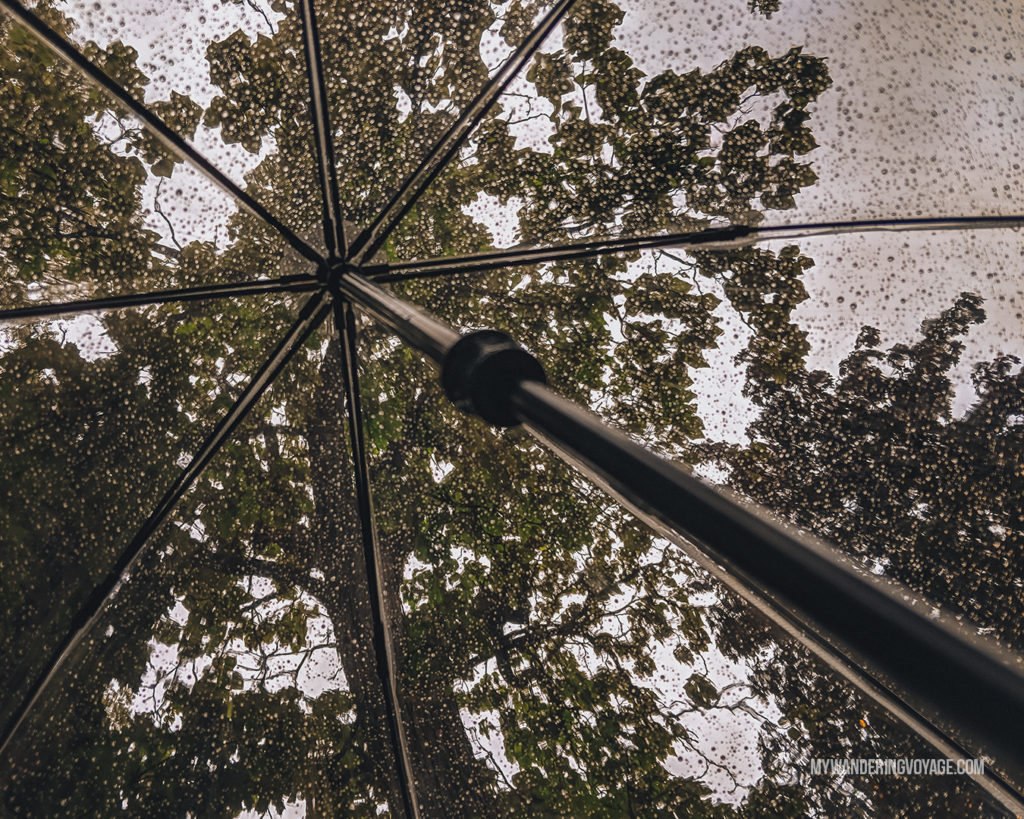
Reflections and shadows: Reflections and shadows are other elements you can play with to highlight your subject. Think of your subject reflected off another building or subjects seen through a rain puddle. Shadows can help direct viewers eyes into the space you want them to see.
Change your angle: The best way to capture something is by changing where you are, rather than where the subject is. Watch how shooting from up high, down low, or stepping off to the side can change your image.
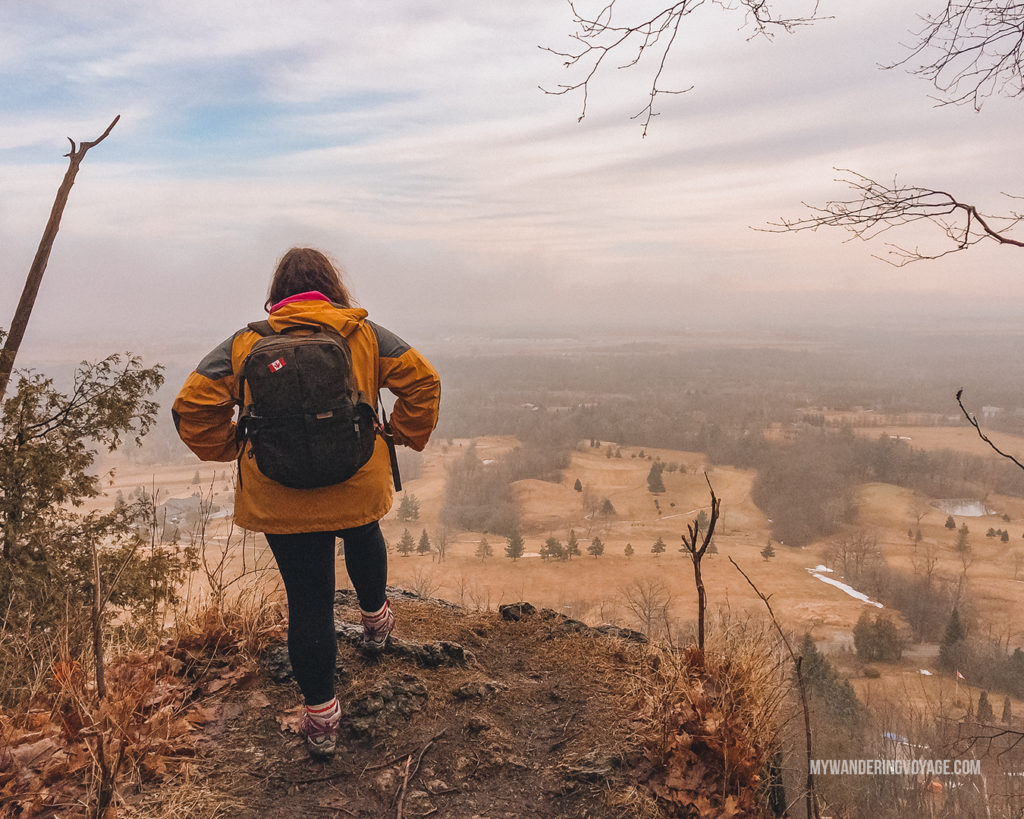
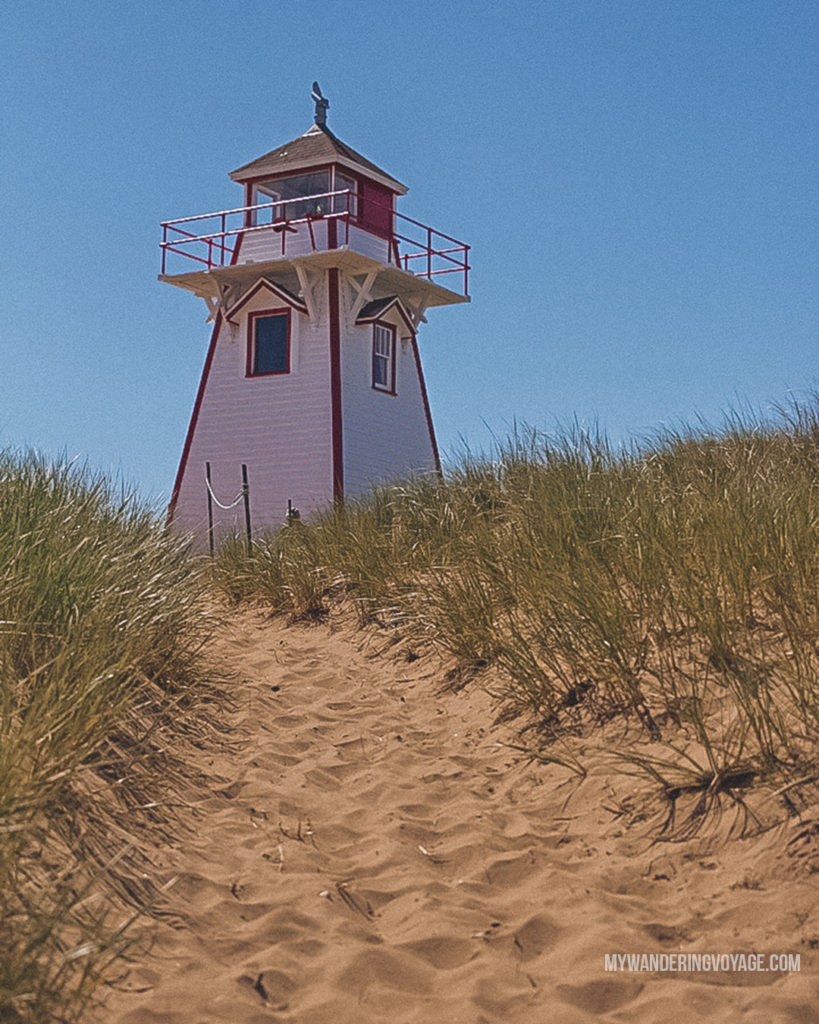
Scale: When shooting landscapes, it’s easy to get lost in the beauty of it. However, if you place a person or thing in the frame, you can see how quickly the tone of the image changes.
Another tip: Remember to be aware of your backgrounds and don’t have anything sticking out of their heads.
Here are some quick tips for better smartphone travel photography compositions:
- Take extra care that your photo is straight and the lines in your photo are straight
- Remember the rule of thirds when placing your subject
- Use space to your advantage
- Look for natural frames for your subject
- Look for distracting background objects – don’t give your subject “bunny ears”
- Change up your angles.
- Try using the HDR function for any subject other than humans to capture the best dynamic range of colour.
Light
We’ve talked about the fact that light is the key to photography, but if we want to take your photos from good to great, then we can use light in different ways to make your images pop.
First off, for human subjects, place them at a ¾ angle towards a window to get the best natural light without harsh shadows. This way, it lights most of their face, and you still get a soft glow, rather than deep shadows. Super flattering. If you have your subject stand at a 90-degree angle from the window, you can get some cool dramatic shots too!
For landscape, the golden hour – the hour after sunrise and before sunset – and the blue hour – the 30 minutes before sunrise and after sunset – can make really great images. However, it’s not always possible to be at a place during those few hours of the day. Plus, phones can also have a hard time correcting the white balance and focusing during the twilight hours.
So, what can you do?
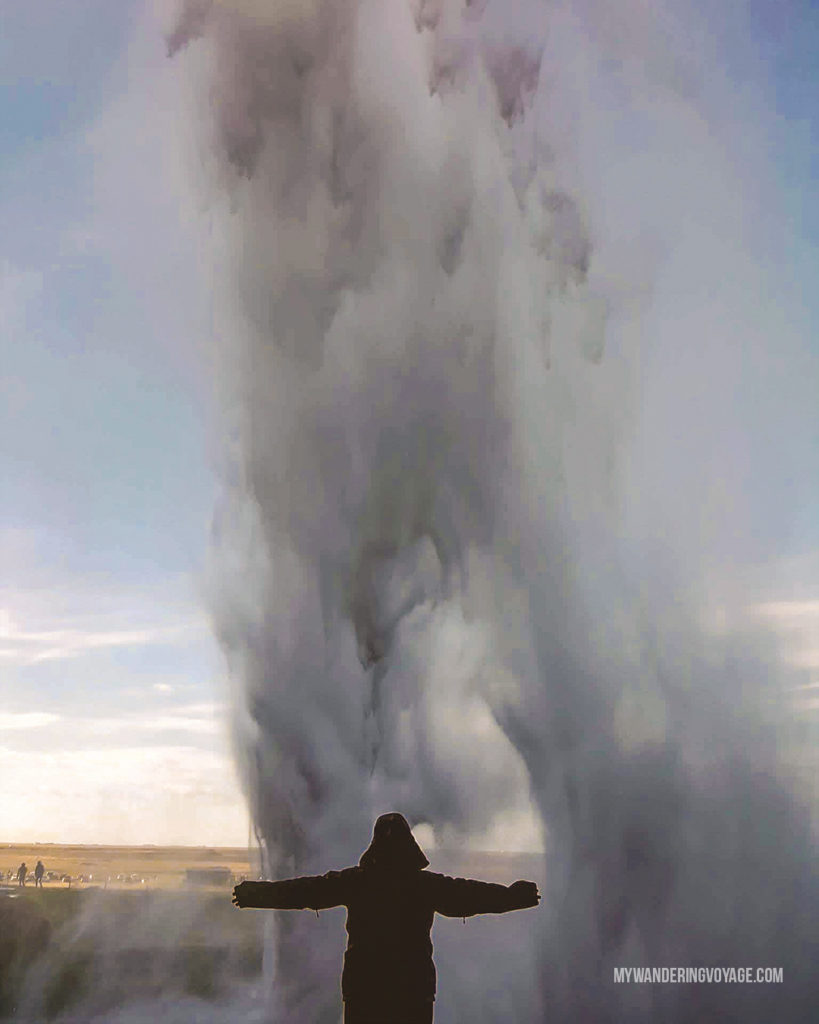
Well, there are a couple of things. Use shadows to create compelling shapes or backgrounds for images. Use the natural light to highlight your subject. For example, you can have someone look up so they are bathed in light. Try a silhouette. Or take photos in the shade.

Harsh light isn’t your enemy; it can make the colours pop. It’s all about practising!
Bad weather is also not your enemy – rain, snow and other crazy weather can be a fun way to showcase your subject.
Story – do your photos tell a story?
Looking at your photos, what do they say to you? How do they reflect the moment in time that you have frozen? And don’t forget to vary your images. From wide landscapes to close up details. The more you capture, the more you can tell a story.
You want to share your experience with others so that by looking at the photo, they can feel what you felt at the time. Create a sense of wonder!

For people, try for candid shots rather than posed ones. Do this by directing your subject. You can ask them to do something, like playing with their hair, spin around, or talk to a friend nearby or someone else in the frame.
This part is purely subjective to every photographer. To learn more about how amazing travel photographers tell stories, then follow them on social media and study their photographs. Obviously don’t copy them, but instead, learn how the images were taken and how you can change what you are doing to take your photos from good to great.
Editing your travel photos on the go

There are two common misunderstandings about image processing or editing. The first is that editing photos is bad. That is incorrect. Even photojournalists edit their photos. The basic rule is that you can edit the photos but don’t change the MEANING of the photo. Changing the colour, exposure and white balance is not going to change what the photo is about and the story it tells.
The second is that photo editing is difficult, so you should rely on the built-in filters on your phone or on Instagram. Nope – so wrong. First off, there are incredibly powerful apps out there that will take your photos to the next level. I’ll talk about those apps shortly, but first, you need to know what you are going to edit for.
First, check to make sure the photo is colour balanced correctly. In internal photo editing software or photo editing apps, you’ll be able to adjust the temperature (blue to yellow scale) and the tint (green to magenta scale). These are both important to get you to the right white balance!
Do this by playing around with the scale. You’ll be able to notice if something appears too blue or too pink.
Next, is the photo exposed correctly? Are your whites blown out or your shadows too dark, then you’re going to want to fix that.
Lastly, how do you want the photo to feel? Calm? Vibrant? This is where presets or creative editing can come into play. I like my photos warm and vibrant, but there are hundreds of presets out there to choose from if you are interested.
Image processing is not about throwing on a filter, and that’s it. Take the time to understand how an editing app works, and it will make your photos just that much better.
Free, easy to use photo editing resources
If you think that carrying around a DSLR is too bulky, then how about a laptop? I try to avoid bringing my laptop when I travel. That’s because, with limited vacation days, I go all out on my travels. Answering emails, editing photos and all the other things that come with working online, I put that all to the side and enjoy my travels.
So how can you make it easy to edit your photos on the go? Apps. There are some seriously powerful apps out there that make it easy to store, edit and share your photos.
Google Photos: Probably my favourite app. Not only do all my photos I take automatically get backed up (with unlimited storage – thank you Google Pixel 2), but it also so easy to organize my travel photos. It uses geo-tagging, dates and facial recognition. Easy peasy. (Android | Apple)
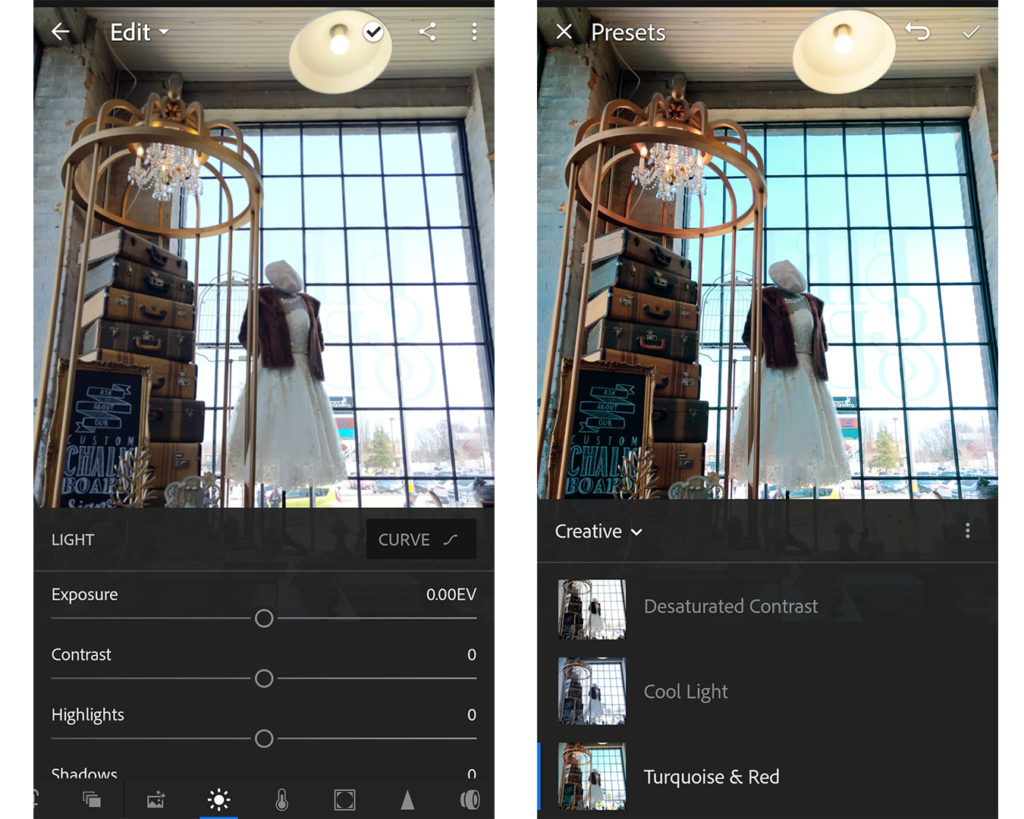
Adobe Lightroom Mobile: The best free photo editing app out there. It lets you really dive in and edit almost every aspect of your photo, from exposure to curves to chromatic aberration – pretty well everything! If you want to save time you can also upload presets to edit your photos in just one tap. You can even take images (including RAW) right from inside the app. (Android | Apple)
Snapseed: Google’s photo app is one of the top photo editing apps out there. Not only can you edit your photos for the basic corrections, but you can save your favourite looks as presets for your other images. You can also edit your RAW photos in this app. (Android | Apple)
Moment Pro camera app: Hands down the best third-party camera app out there. You can enter full manual mode with controls for ISO, shutter, white balance and more. You can capture your photos in RAW file format for better editing. You can even take cinematic video right from the app. It costs $3.99, but well worth the investment. (Android | Apple)
Above all, keep photographing
Looking back over my 10 years of taking photos, I cringe at some of the early ones. And even still do a ~facepalm~ if I didn’t think about taking more wide angle shots instead of details. The beauty with digital photography is that you can delete the ones you don’t want if you end up taking five photos of the same thing.
But, keep practising. Most people aren’t “gifted” with the eye for good composition; others have to train their eye to see things in a new way. And you can do that by Just. Keep. Practising. And what better way to practise than through smartphone travel photography?
Inspired about smartphone travel photography? Pin it: