Best way to organize your travel photos
If you’re anything like me, you’ll be taking thousands of photos on your trips abroad, but what happens when you get home? How do you sort through the mountain of pictures? How do you select the best ones to share with your friends and family? Don’t you worry, by the end of this post, you’ll be an organization master! This guide will help you find the best way to organize your travel photos so that you can easily find them, show off your best snaps and put them together in a memorable way.
What you’ll need:
Computer
Hard drive
Card reader
All your cameras/ devices
Editing software, like Photoshop or Lightroom, or something free like Fotor.
This travel photo organization process can work with either a Mac or a PC, no matter what type of camera you have and can be adapted to suit your needs. If you are looking to share photos on Facebook, or have a slideshow with family or if you want to edit your photos for a gallery, it works for everything, that’s why it’s one of the best ways to organize your travel photos
Step 1: Create your folder system

Creating a folder system is probably the most important step and one you’ll want to make sure you get right. For a long time, I just organized my photos by year and dumped Every. Single. Photo. into that folder. (What was I thinking?!) But I smartened up when I got my first DSLR. I started organizing by date, which was great, but not perfect.
Now, after 10 years of photography, I’ve created the perfect system (at least for me.)
I have a specific hard drive for all my raw images. So here’s how I set up that hard drive:

Year> Month > Date + descriptive title.
For example, 2018 > 10 October > 2018-10-12 Italy

(The use of the number in the month folder helps them stay in order by number, rather than alphabetical. And the descriptive title of the date folder is essential for knowing what’s in that folder with just one glance.)
But what happens if your trip goes over multiple days or even multiple months? Well, that’s up to you. You could separate each day inside the month folder, or have a trip folder inside the month folder, then divide it by day like so.
For my Italy trip, which was several days in October, I did the following:
2018> 10 October> 2018-10-12 Italy (the day the trip started)> 2018-10-12 Rome, 2018-10-13 Tivoli and Rome, 2018-10-14 Vatican and Colosseum, 2018-10-15 Venice, 2018-10-16 Tuscany, etc, etc.
You could also separate the inside folders by destination as well. If the trip fell over two months, I would keep the folder in the month that the trip started.
RELATED: How to take better travel photographs
Step 2: download them from your camera onto a hard drive.
Now, download your raw (original) camera files from your camera and put them in the respective dates. Inside each folder (whether it is each day or each location), make a couple more folders.
To download the photos from your camera to your hard drive, you might need an SD card reader. I prefer this method over transferring photos through software.
First, a “phone” folder. Here’s where I would dump all the photos I took with my phone during that day. I have a Google Pixel 2, and it’s effortless to transfer pictures to my computer using Google Photos. You can also create more folders for each device that you have, like a GoPro or other video device. Phones these days are
Second, an “edits” folder. Here’s where I would keep all the future edits of the photos. Third, a “web edits” folder. Photos pulled from DSLRs (and even phones these days) are MASSIVE files. So you’ll want to edit them into a manageable size to upload into Facebook or Instagram, but keep an originally-sized edit to print them.
Step 3: Import them into Lightroom

Once you have all your photos downloaded into your hard drive, you can start the process of going through them and picking out the best.
I use Lightroom for this, but I didn’t always. Before Lightroom, I would just browse the photos on my computer and write down the ones I liked. Then I would take all of those and open them into a photo editing software, edit and publish. It would take FOREVER. Seriously. I hated editing photos because the process took too freaking long, and I just wanted some instant gratification.
Luckily, I smartened up. Adobe Lightroom is a simple photo browsing and editing system. It’s currently only $9.99USD per month for Lightroom and Photoshop. This is a great deal and one I’m happy to pay. There’s even a seven-day free trial if you wanted to test out the program.
Lightroom gives you the ability to cull your images, edit them, and create presets. You can do this all in bulk and export your photos in bulk. Using this system has shaved down probably 3 or 4 hours of editing for me.
Step 4: Cull your images/ Select for editing

Next, you’ll want to cull your images and select only the best ones for editing.
First thing first, I create an album in Lightroom and upload all photos from the trip into it, even ones from my phone. Then I go through them and cull the ones I don't like. In Lightroom, hit “x” to flag as rejected. This takes all of 30 minutes, depending on how many photos you have.
Then I use the filter option to take all the images I wanted to keep and drag them into a new album for editing. You could skip this step and keep the filter on, but I just like to have them in a separate folder.
Be ruthless in your culling. No one wants to sit through an hour-long slideshow of your images that are blurry, too dark, not rotated, etc. Select your best and favourite photos.
RELATED: The ultimate guide to improving your travel photography with a smartphone
Step 5: Edit

Editing used to be a pain. I mean, who wants to go in and adjust everything from exposure to white balance to straightening to everything in between?
No one.
But sometimes, editing is essential to bring out the colours or to correct a crooked shot. Since I come from a journalism background, my rule with photo editing is that you can change the colour and exposure of a photo, but you can’t change the meaning of the photo. Photojournalism has much more stringent rules than personal photography. But you should keep it in mind if you want to sell your pictures.
So, what should you look for when editing?
There are three things you should keep in mind.
White Balance
Exposure
Feeling
Of course, there are so many other things you can edit (all within Lightroom), such as the correcting optics, correcting distortion, removing chromatic aberration, adding grain, removing noise, adding clarity, dehazing, and SO MUCH MORE. But if you focus on the first three, then you’ll turn out some great images.
If all that sounds like too much work to do on every photo, you’re not alone. There are presets (both free and paid) that you can import to make editing a snap.
White balance
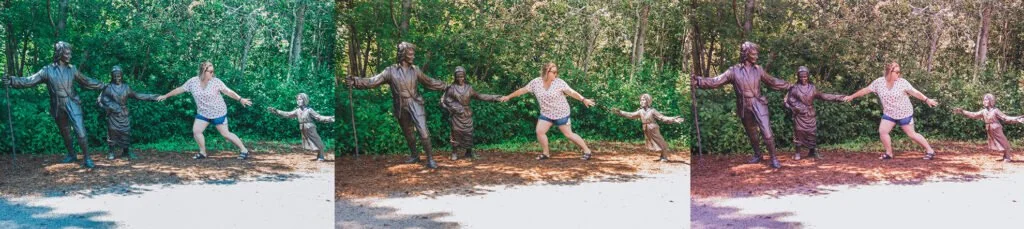
Have you ever seen a photo that is a little too pink or too blue? That’s because the white balance is off.
There’s a whole science behind it, but what you need to know is that in the photo, there is a temperature on a sliding blue and yellow scale and a tint, a sliding green magenta scale.
By adjusting those two settings, you’ll be able to get a better check on your white balance, which makes the image look more realistic if your camera didn’t quite get it right.
Exposure

If your image is too dark or too light, then you’ll need to fix the exposure. In Lightroom, you can adjust the lighting through the exposure tool, contrast, highlights, shadows, whites and blacks. There’s also the tone curve.
It sounds a little complicated, but really, they’re just sliders, so you can fiddle with them until it looks right. Just make sure to have the brightness on your screen all the way up so that you get an accurate image.
Protip: It’s best to shoot your images a little underexposed (not too much), meaning darker and adjust in the editing process. You can pull details in from shadows (the dark parts of the image), whereas highlights (the bright parts) are usually lost as soon as you take the photo.
Feeling

The next thing to edit is the feeling you want to portray with the image. Personally, I love warm, vibrant shots. But you might respond well to cool, dramatic images or calm, subtle ones.
And if you’re asking Olivia, how do I edit my photo’s feeling? That is where filters and presets come in. And I’m not talking about the ones that come free on Instagram.
Presets are a way of saving the edit adjustments in order to reapply them to other photos. You can make your own or find great and affordable presets on Creative Market.
The key is to be subtle and don’t go overboard.
I like to batch edit by putting the preset I created on my photos, then copy and paste it onto all the other images in the folder. (In Lightroom, it’s as easy as Ctrl+C then select all the other photos and press Ctrl+V.) Then I go in and adjust as needed. It cuts down my editing time!
Step 6: Share

Yay! You’ve completed the hard part! Now, let’s export and share those suckers!
Lightroom makes it really easy to export images. Just select the ones you want and click File>Export. It will pop open the export tab for the setting that you can change for exporting. You can change the names of the images, the location and more.
First off, I like to do a full-size export. These files will be massive (and will take a long time to export), but these images will be perfect for printing.
I then actually take these images into photoshop to resize, place my watermark and save as a smaller size for my blog or for sharing on the web. But you can also resize the images when you export too! In Lightroom, when you’re in the export option, click the drop-down menu beside “Dimensions.” You can have the option of putting a custom size.
A good size for social media and web use is about 1350px by 1080px (which is the size of a wide Instagram photo), and you can reduce the quality to make the file size smaller. The size limits are totally up to you.
Landscape by Social Sprout is a great tool to resize photos for several uses with a couple clicks of the mouse.
I save all the smaller images in the “web edits” folder on my hard drive. That way, all the photos - original, full-size edit and the web edits - are all together and easily findable.
Best way to organize travel photos

Voila - the perfect way to organize your travel photos. It might seem like a lot of steps, but trust me, I’ve been on the end of poorly organized photos, and it drove me bonkers. And the editing process has helped me so much in the long run.
A couple of years ago, I decided to make photo books of all my trips, but for the size of the book I wanted (LARGE AF), my images needed to be print quality. Well. Guess who didn’t save any of her edited photos in full size before changing them to a shareable web size?
It was me. I did that.
And guess who had to go back and re-edit all her photos from eight previous trips?
Yup. me again.
Let’s just say. I learned my lesson: Keep a well-organized folder system and have a simple editing process. Hopefully, you can learn from my mistakes with this guide on how to organize your travel photos.
Backing up your photos while travelling

If you are a heavy photographer like I am, shoot raw and fill up SD cards like crazy, then you’ll want to think about bringing along a hard drive for your trip.
A hard drive is also useful since you can back up your photos on the go, meaning you won’t lose them if your camera is stolen or you lose your SD card holders. There’s a lot of good reasons to back up your photos on the go.
Back when I was first thinking about this, I wanted a device that I could just plug my card into and back up my photos without even needing a computer. There weren’t a lot of options - and still aren’t, but there are two solid choices for anyone who wants to back up on the go without a computer.

I found the WD My Passport Wireless Pro. Starting at only $149 USD for 1TB, it’s a good deal. You still have the option of backing up photos directly without the need for a computer. You just need to connect through an app on your phone.
The newer models of this hard drive appear more rugged than my current version, but I don’t think it would stand up to harsh climates. Still, it’s an excellent option for backing up your photos on the go.
What do you do with your travel photos?
Now that you’ve done all the work on organizing your travel photos and editing them, what can you do with them to keep the memory alive?
Well, here are my three favourite things to do with travel photos:
Make a photo book

A photo book is my personal favourite way to display my favourite travel photos. I often can’t narrow down a few of my favourite enough to print for frames, so I include all of my edited images in a book form.
I make the books nice and big, so they become coffee table books for when I want to reminisce about a trip or a conversation starter for when guests come over. I have had incredibly positive feedback about them too.
I plan to print all of my trips that way, which is why I love using Blurb. Not only do the products turn out really well, but the program is straightforward to use.
The program, BookWright, is something you download on your computer and use, rather than through an online version. This is beneficial because it allows me to work on a book for as long as I want, and it never deletes. And if family members (or friends) want copies, it’s effortless to re-order the book.
Blurb has awesome sales, ranging from 25-50% off throughout the year. (I’ve got a couple of books waiting to be printed for their Black Friday sales.) You can even sell your books right through Blurb.
Canvas Prints

I find that when you take hella awesome photos, there’s no better way to display them than as a big statement. That’s where canvas prints come in. You can get massive prints of your favourite photos, but then you would also need to buy massive frames, which cost quite a bit of money.
With canvas prints, the frame is already built-in, and it’s pretty easy to put together. We have eight in our house. We use BestCanvas.ca. The prints aren’t perfect, but they are great for the price. Some of their enormous frames (60cm wide) are less than $40.
Photo Gallery Wall

My house is full of gallery walls. I’ve got photo clusters of Greek doors, of Germany, of Quebec City, of Santorini and more. Literally, our walls have filled up with my photos. Having a gallery wall is a great way to display your selected favourites. It’s super easy too.
All you need are some gallery wall frames (or you can create your own), then print out the photos in the correct size, hang them up and voila! Your own gallery
RELATED: Gift guide for travel photographers
Product recommendations
Here are the product recommendations for taking, organizing and editing travel photos.
Camera: You’ll want a decent camera to capture all those fabulous places you travel to. I’m a Canon fan and have used them for the last decade. My current camera, the Canon RP is such a great lightweight camera.
Memory cards: Memory cards are an essential and underrated part of the photography process. You’ll want to get SD cards that have a fast writing speed. I use Class 10, and you want to look for cards that have a higher speed like these. You can even get SD cards that are up to 512 GB
SD card reader: If your laptop doesn't have an SD card reader like most don't these days, you'll want to get a simple one to transfer your files to your computer quickly. If you have a laptop with only one USB port, like mine, then you'll want a hub, like this, to increase the number of ports you have.
Hard drive: Hard drives are vital for backing up your photos. I have several. One is my working hard drive, and another is a backup hard drive. I really like Seagate’s slim hard drives, since they are easy to transport.
Hard drive for travel: As mentioned above, the WD My Passport Wireless are the best option for backing up photos on the go without a laptop.
This system of folders is the best way to organize travel photos I have found from my 10 years of photography experience. Learn from my mistakes and organize your travel photos right the first time!
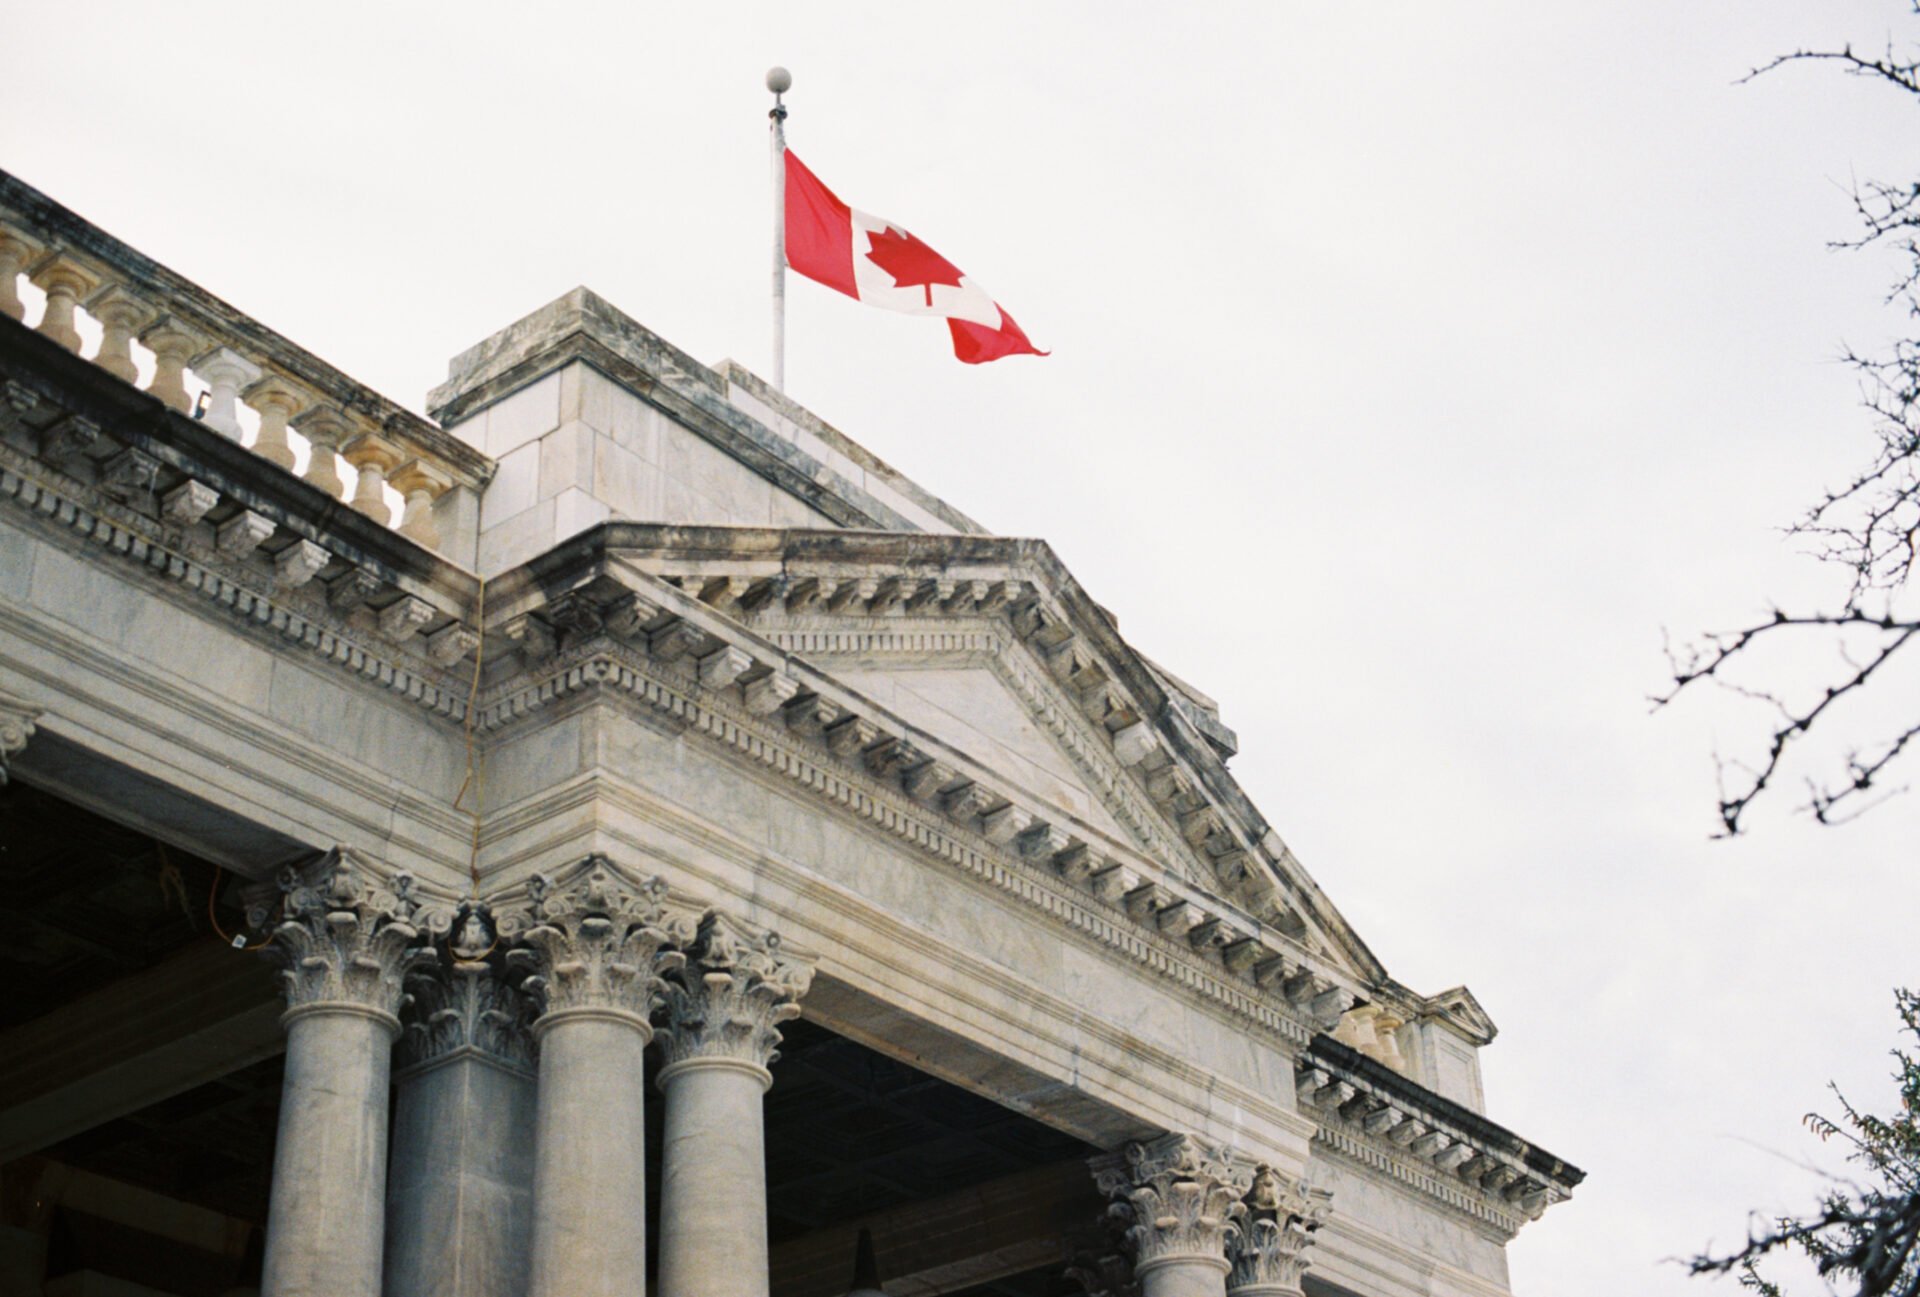


The Olympus Trip 35 is a compact, battery-free point-and-shoot 35mm film camera known for its ease of use and quality. When it was released in 1968, it was marketed as the perfect film camera to take on your travels.